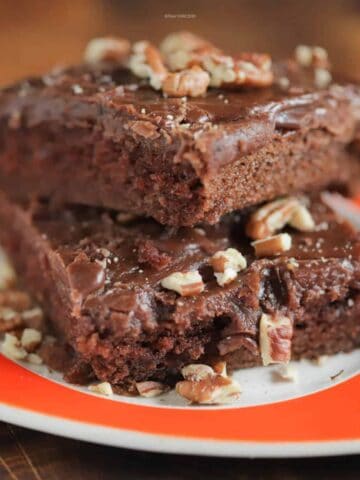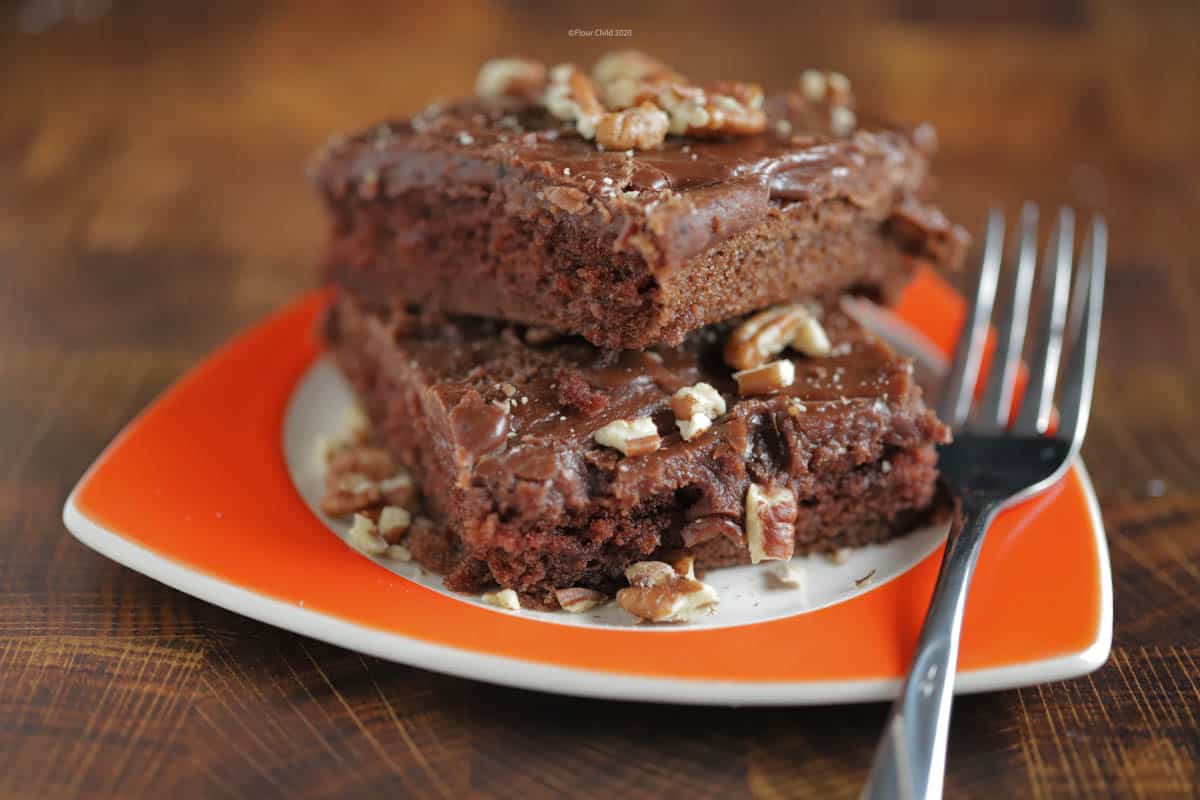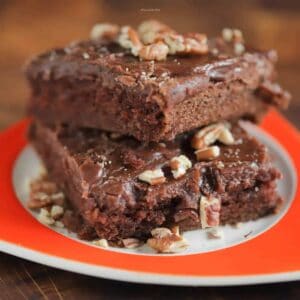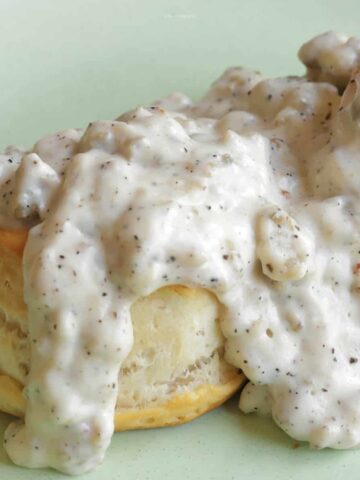
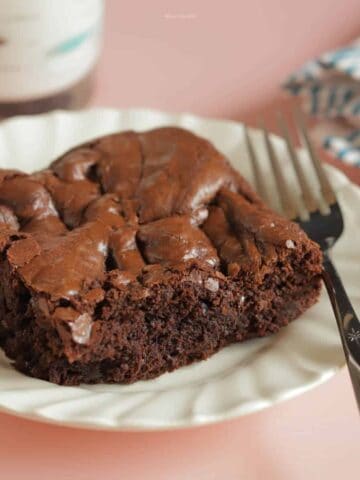
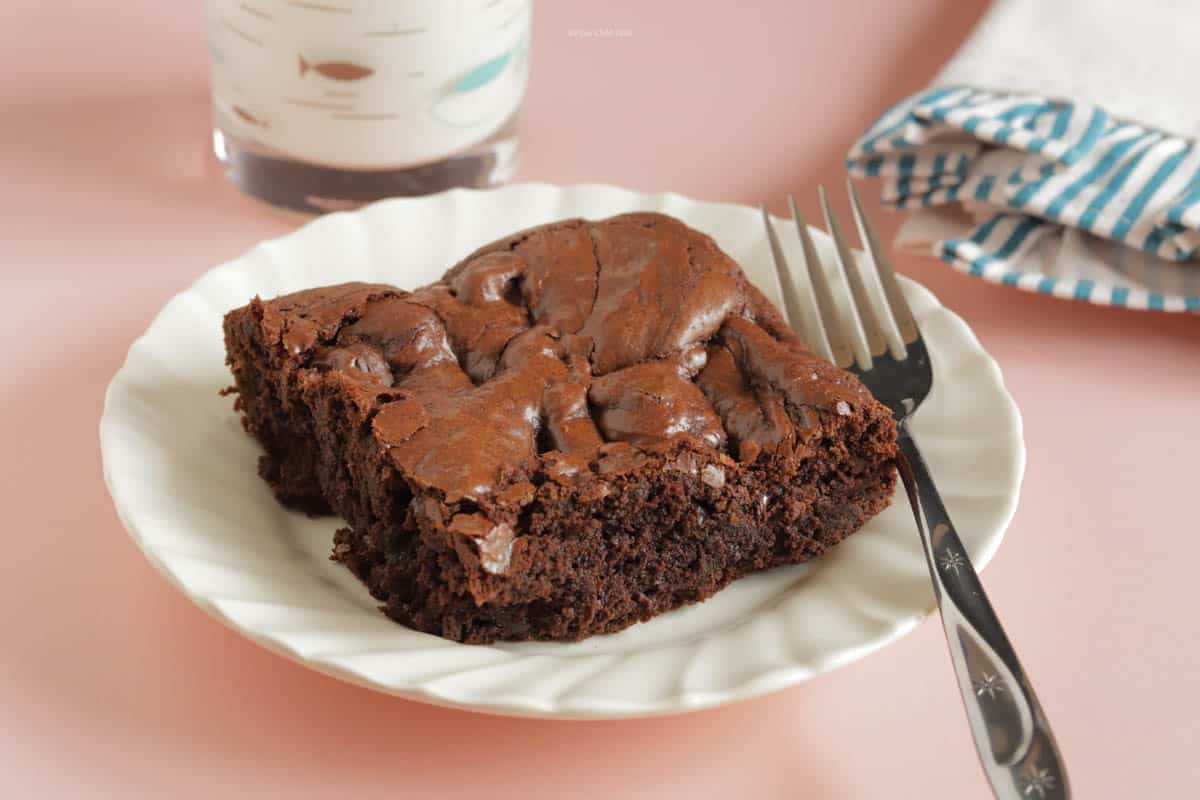
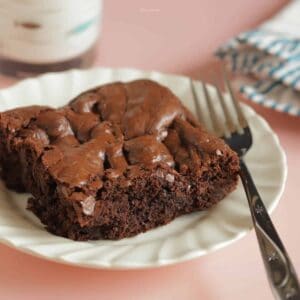
Winner of Insider's Brownie comparison test
When you have a craving for brownies, you want them ready five minutes ago. These are faster to make than a box mix, and taste better!
When Kevin gets a craving for chocolate and we don't have anything in the house, it can get dangerous. He turns into some kind of chocolate hunting monster that growls and tears cabinets apart searching for a morsel. When I tell him I can have homemade brownies ready in about a half an hour, it calms him enough to sit and wait -- but only for that long!
No Waiting For Butter To Soften
One thing I like about this recipe is that you don't have to wait for butter to soften, because you melt it before adding other ingredients. Another thing I like is that you don't need to use a mixer, you simply mix it all by hand using a spatula. In fact, you mix the whole thing in a saucepan and then pour it into a greased 13 x 9 pan for baking -- how easy is that?!
The ingredients you need are things you probably always have in your cabinet. I love knowing I can calm the chocolate monster without having to worry about running to the store! Here's what you'll need:
- Butter
- Unsweetened cocoa powder
- Vanilla extract
- Sugar
- Eggs
- Flour
- Baking powder
- Salt
- Optional: chocolate chips and/or chopped nuts
Hints for Perfect 30 Minute Fast and Easy Brownies
- Make sure each ingredient is fully mixed in before adding the next.
- If you're adding any chocolate chips or chopped nuts, stir them in at the very end, right before you pour the batter into the baking pan.
- If you can wait (Kevin never can) allow the brownies to cool fully. They will cut easier and cleaner, plus they will taste better because the flavors have been allowed to fully incorporate together.
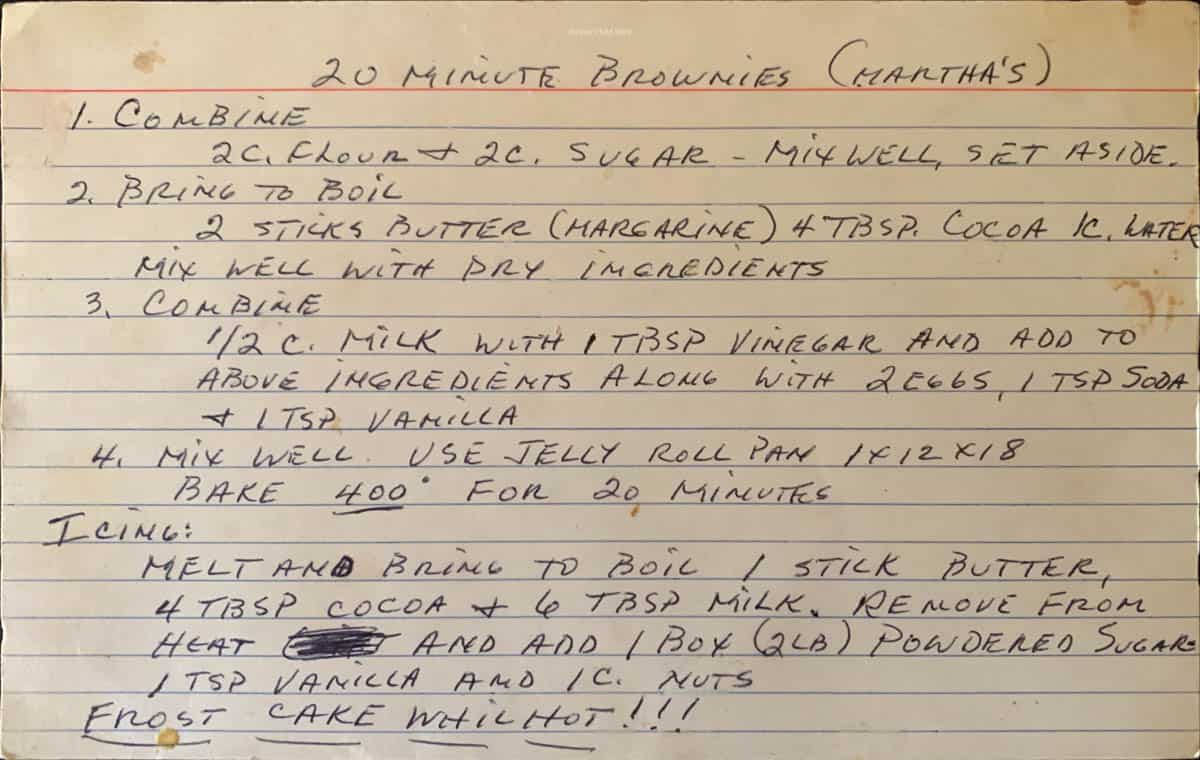
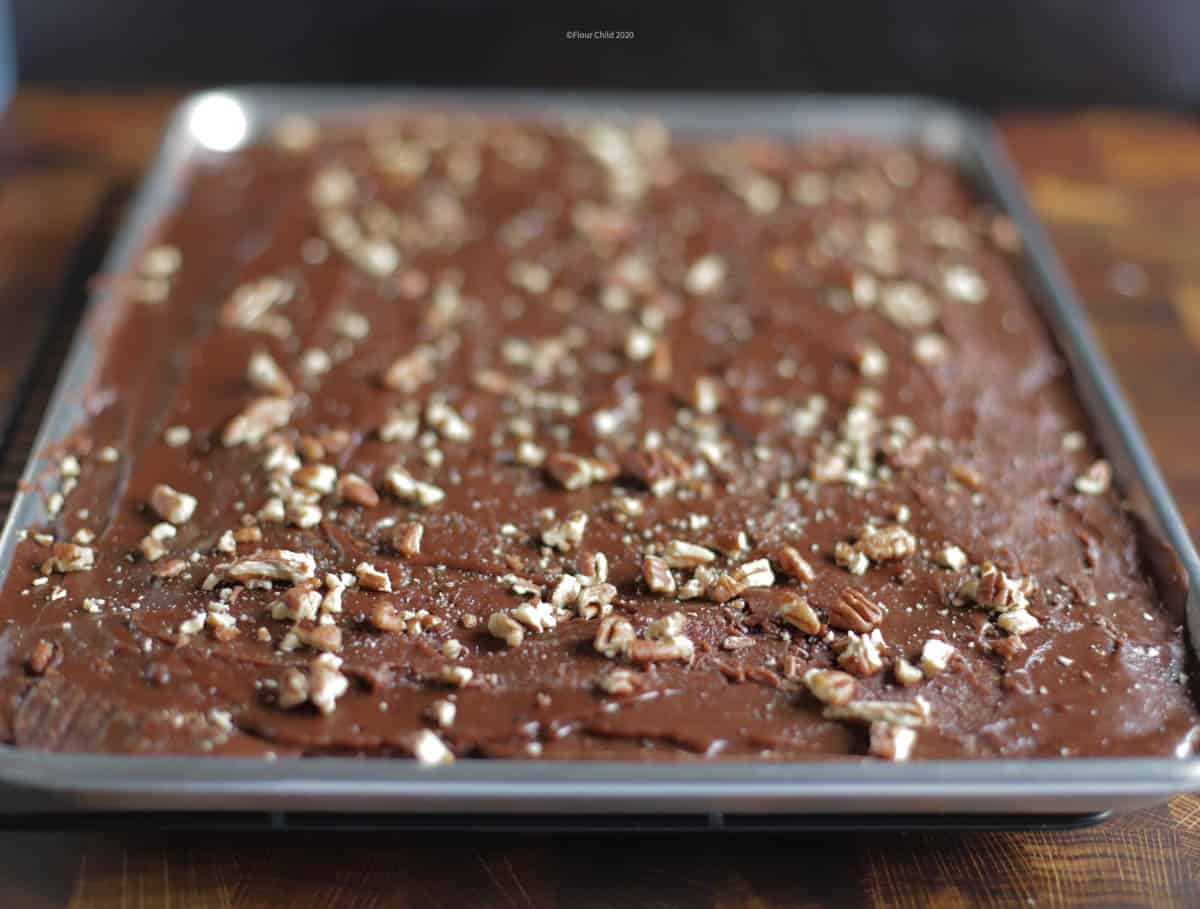
Do you love fast and easy brownies? Try our recipe for 20 Minute Sheetcake Brownies with Fudgy Icing. Let us know which one is your favorite!
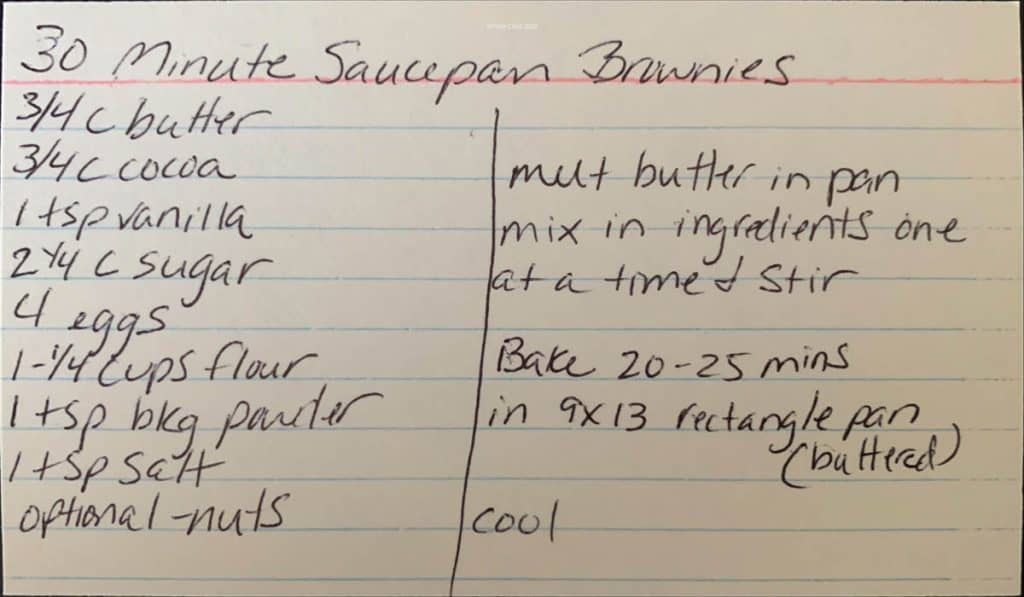
30 Minute Fast and Easy Brownies
Ingredients
- ¾ cup butter
- ¾ cup unsweetened cocoa powder
- 1 teaspoon vanilla extract
- 2 ¼ cups sugar
- 4 large eggs
- 1 ¼ cups flour
- 1 teaspoon baking powder
- 1 teaspoon salt
- ¾ cup chocolate chips optional
- ½ cup chopped pecans or walnuts optional
Instructions
- Preheat oven to 350 degrees. Grease a 9 x 13 baking pan with butter and set aside.
- In a medium pan, melt butter over medium-low heat.
- When butter is completely melted, use a rubber spatula to mix in cocoa powder.
- Turn off heat and stir in vanilla and sugar.
- Add eggs one at a time, mixing well after each addition.
- Stir in flour, baking powder and salt until fully incorporated.
- If you are adding chocolate chips and/or chopped nuts, gently mix them in now.
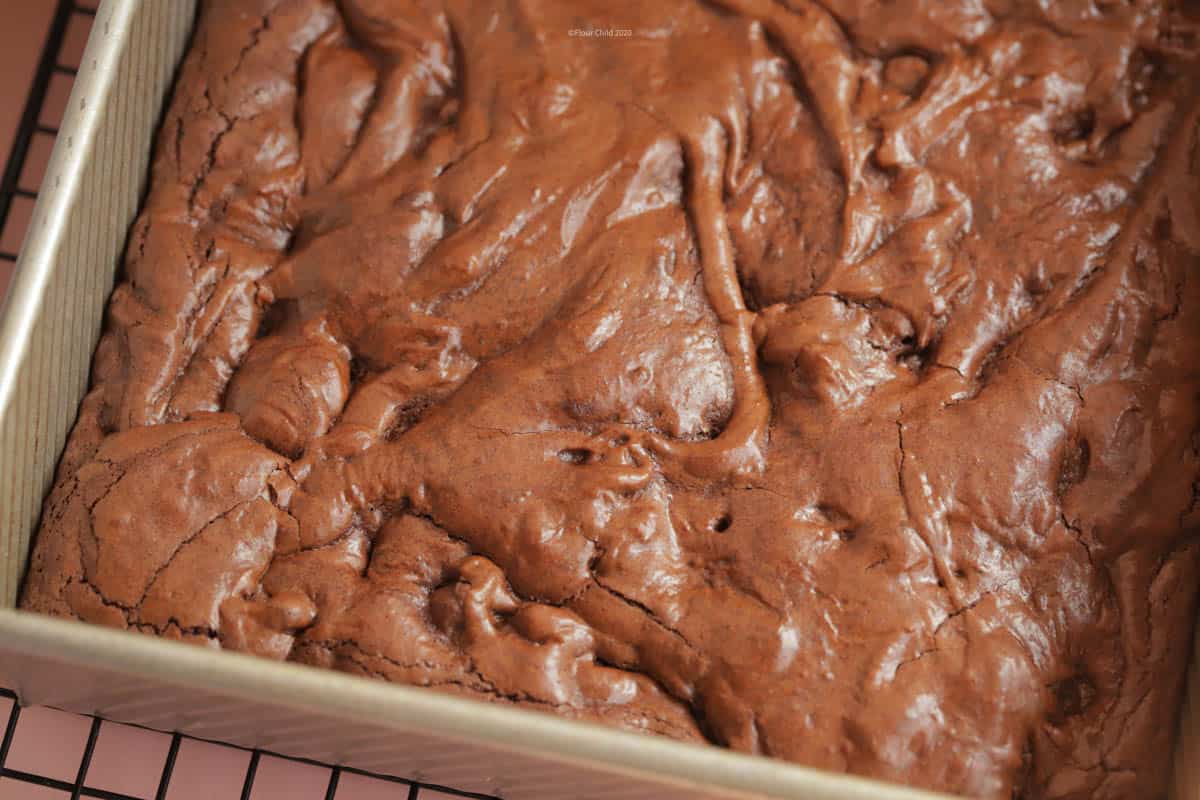
- Pour batter into the prepared 9 x 13 baking dish. Bake for 20-25 minutes until toothpick inserted in the center comes out with only a few crumbs on it. It will finish the baking process as it cools.
Notes
- You can add any flavor chips to these brownies just before baking - milk chocolate, semi-sweet, peanut butter or white chocolate.
- Brownies cut easier and cleaner when they are fully cooled -- if you can wait that long!
- The brownies will taste better a couple of hours after they come out of the oven, because the flavors have had time to bind together during the cooling process.